Basswood
Best first blank. Soft, even grain, cheap to learn on.
Whittling & spoon carving
A practical path from first safety cut to an oiled spoon — for adults carving at a kitchen table or shed bench.
Start the path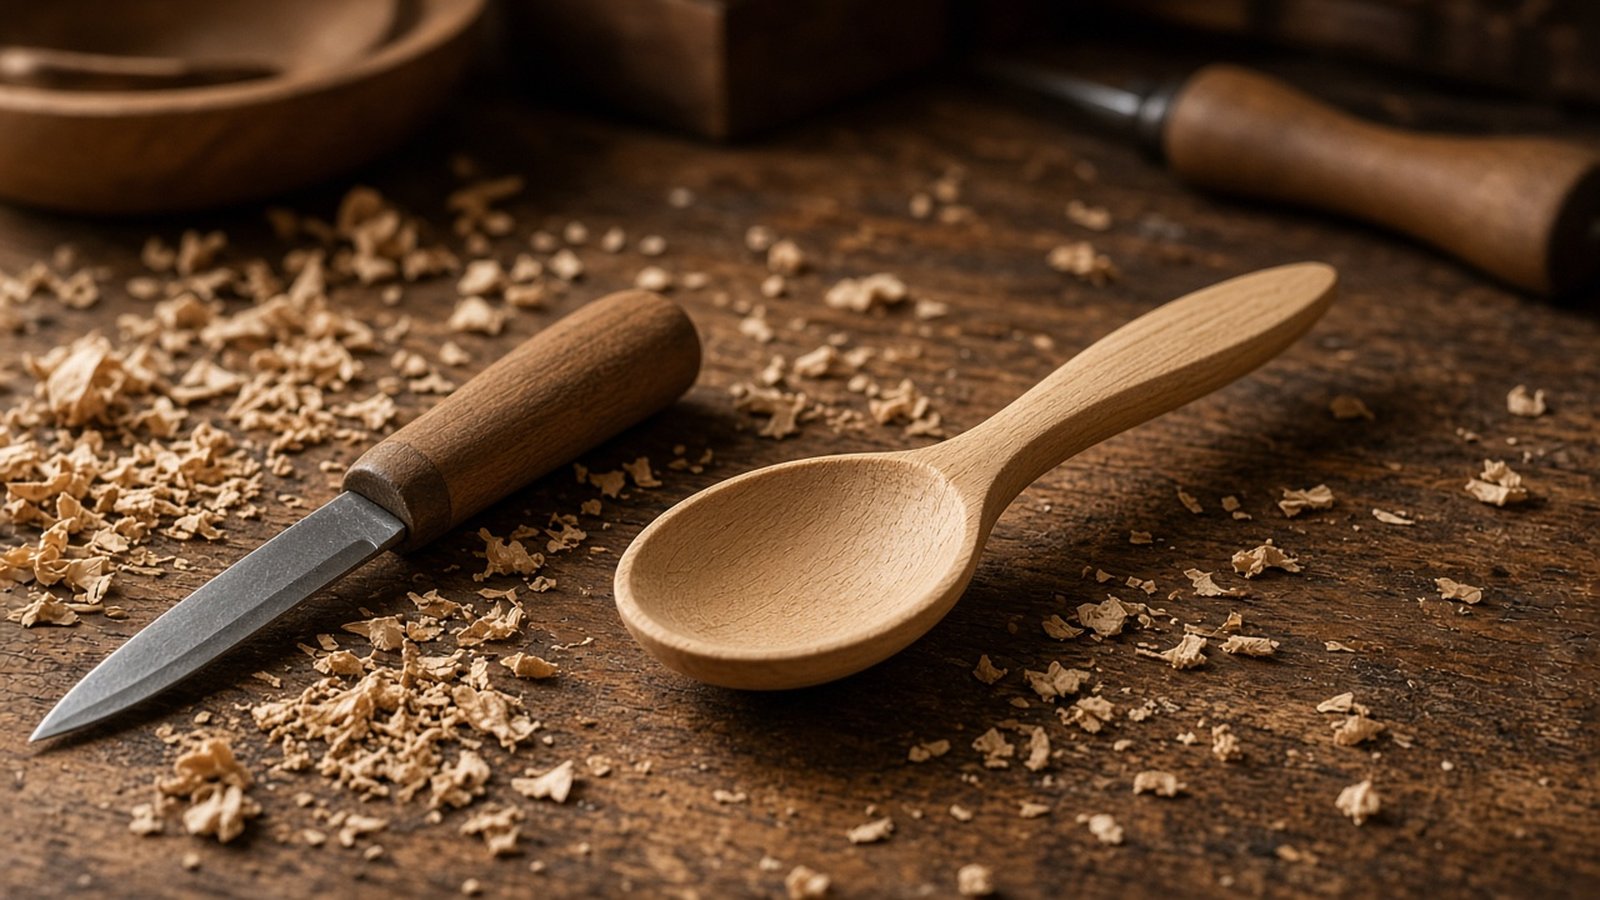
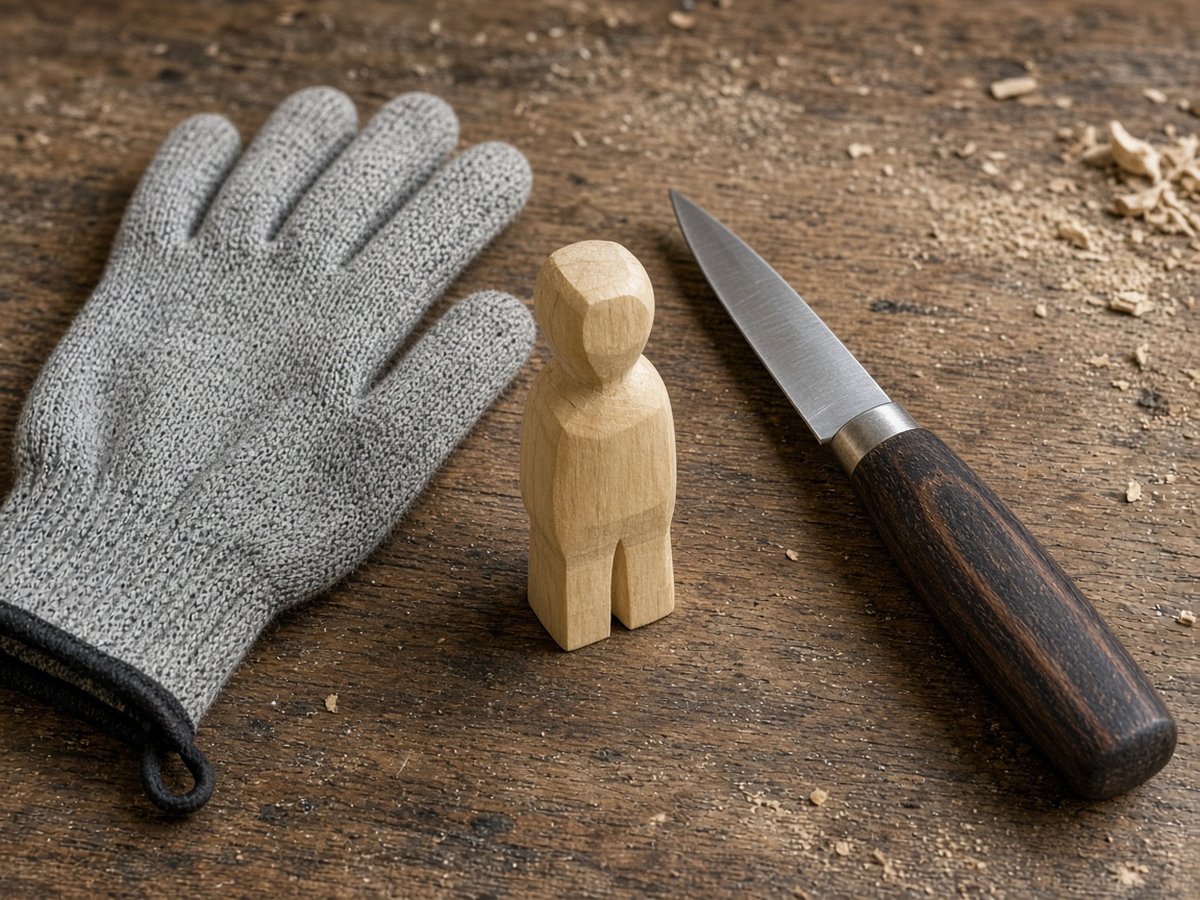
A sharp knife is safer than a dull one. Keep the free hand behind the blade path.
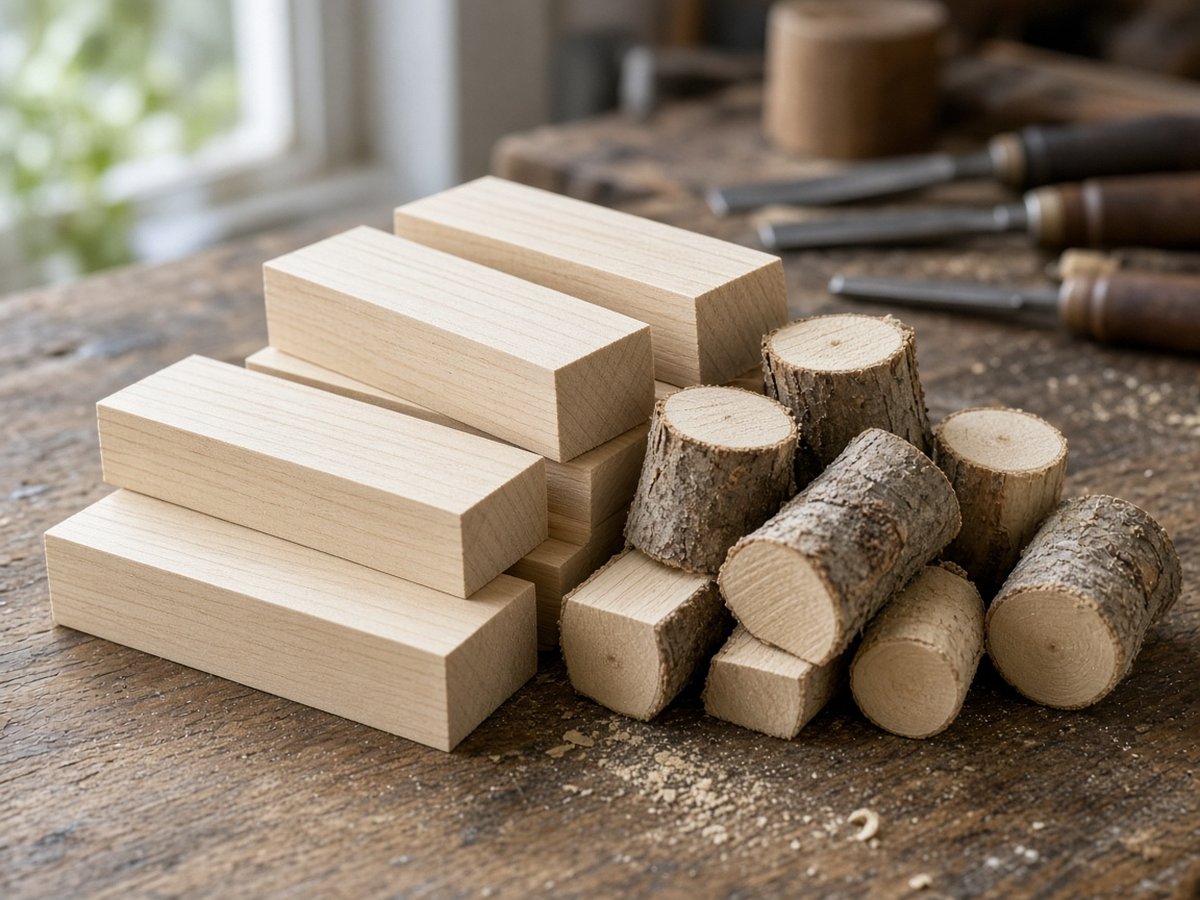
Basswood forgives mistakes. Save oak and fruitwood for later spoons.
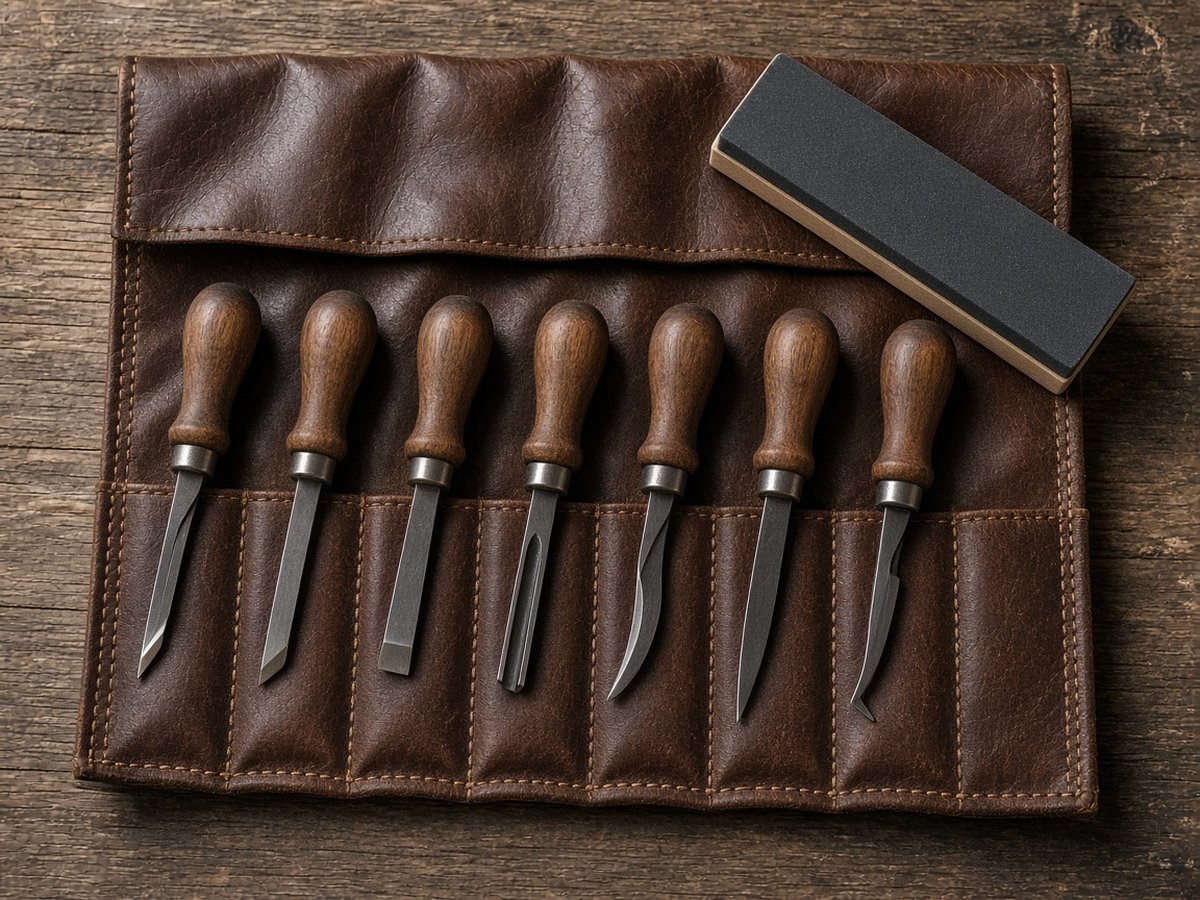
Add a hook knife when you start spoon bowls — not before.
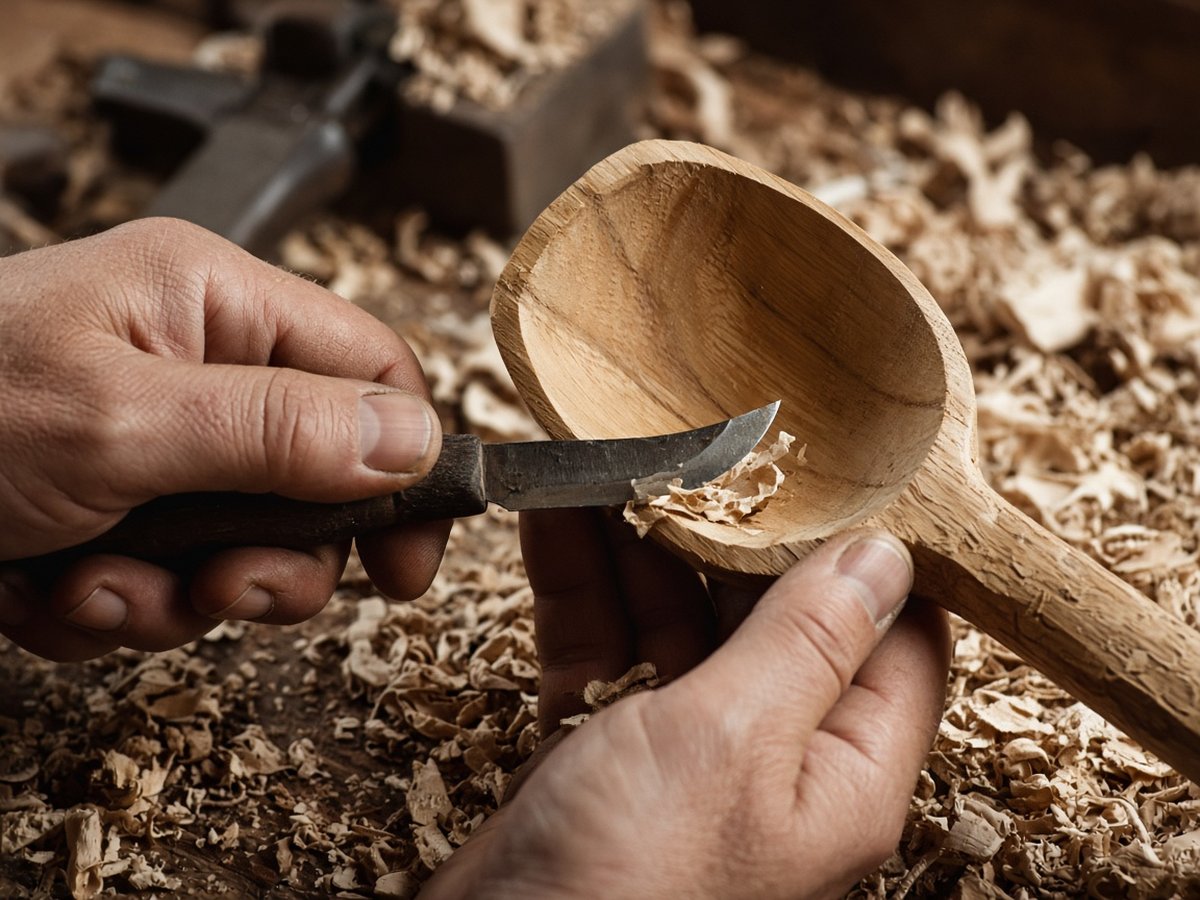
Establish outline before digging deep. Thin walls come last.
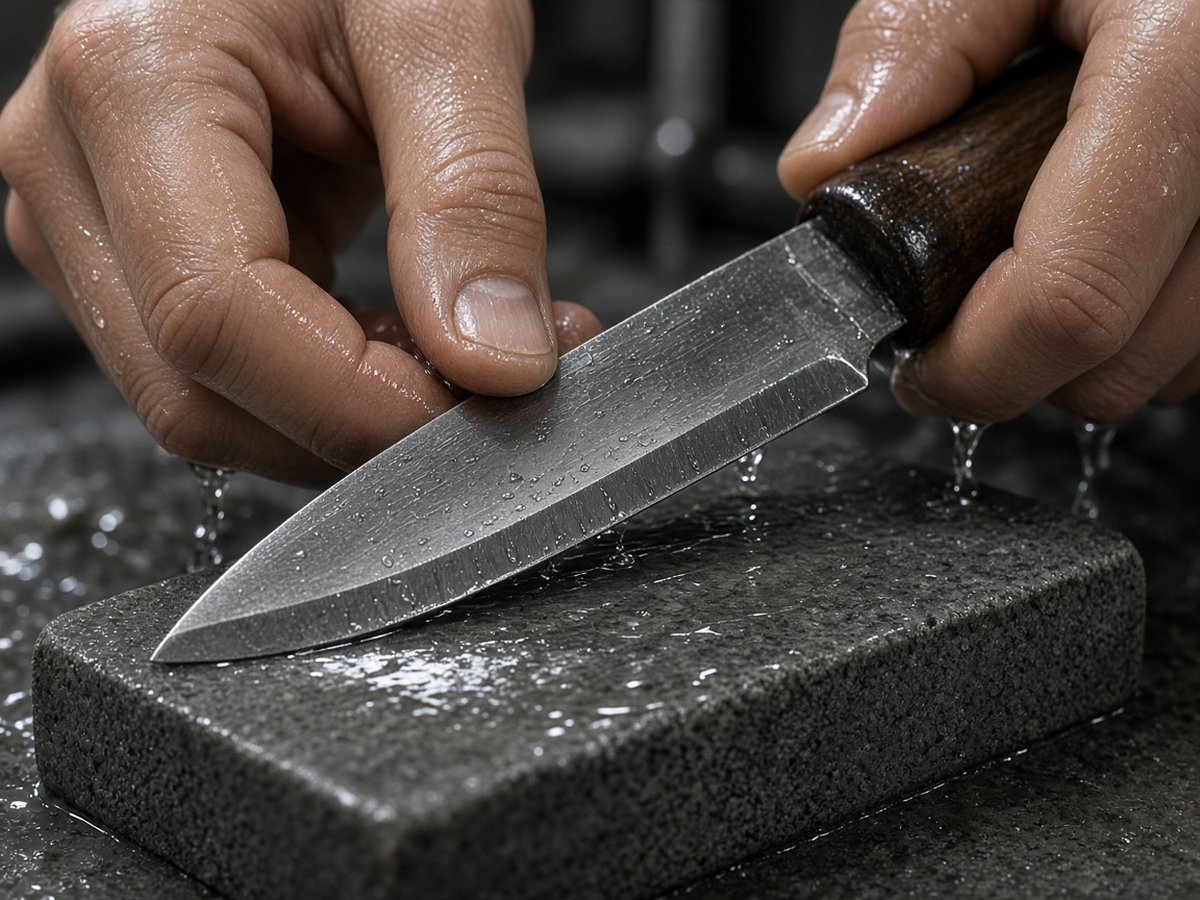
If the cut tears instead of slicing, the stone is overdue.
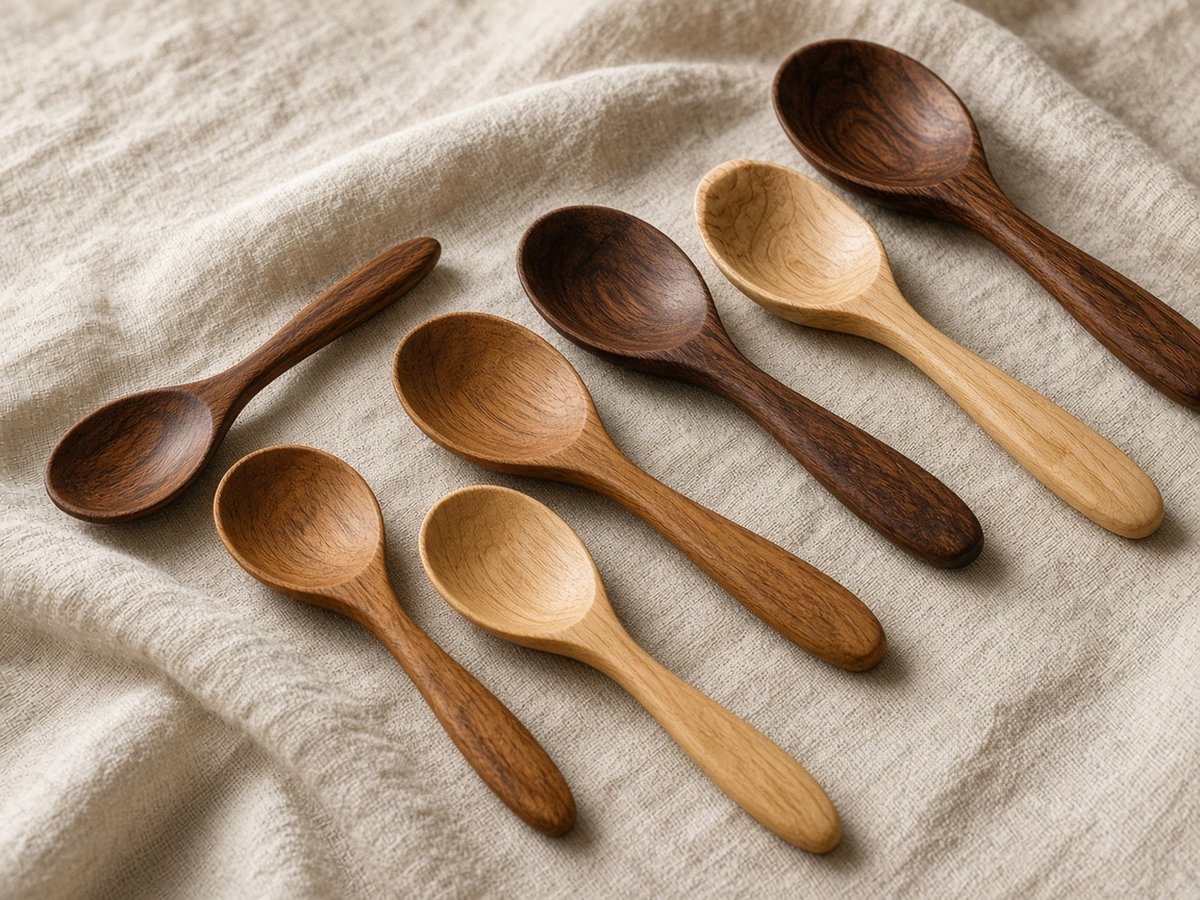
Food-safe oil. Let it cure. Then cook with it or gift it.
Best first blank. Soft, even grain, cheap to learn on.
Tougher spoon wood once your cuts are controlled.
Pretty, harder — save for the third or fourth spoon.
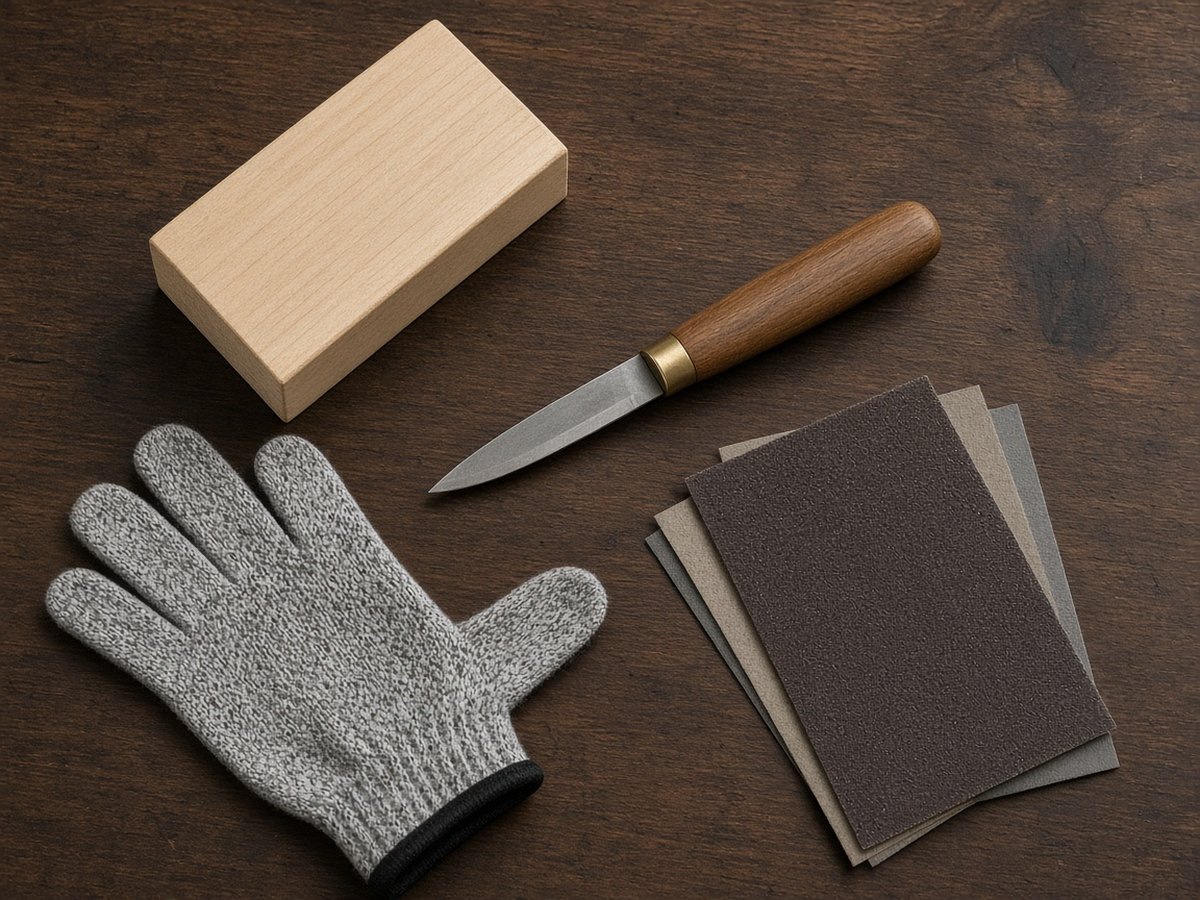
Blank, glove, straight knife — enough for a weekend figure or spatula.
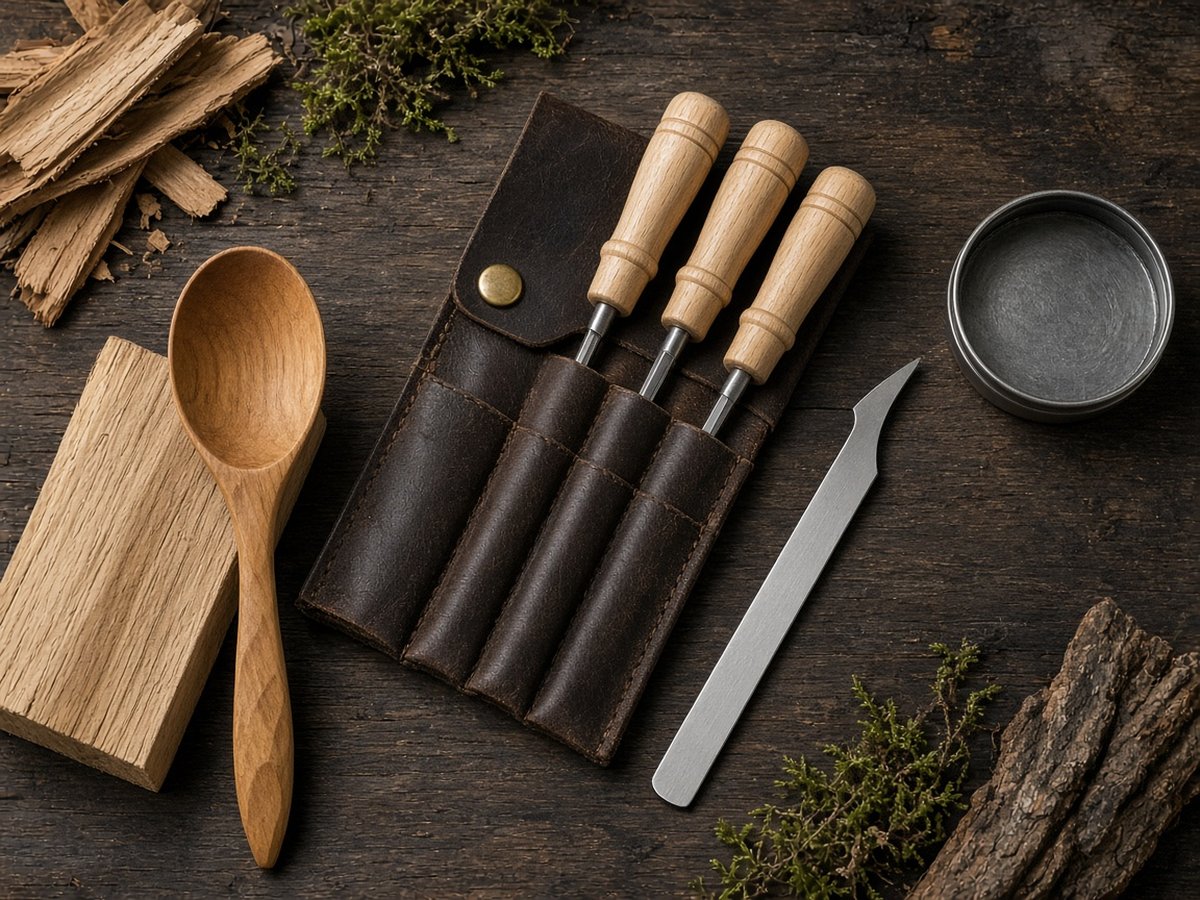
Hook knife and oil tin when you are ready for bowls.
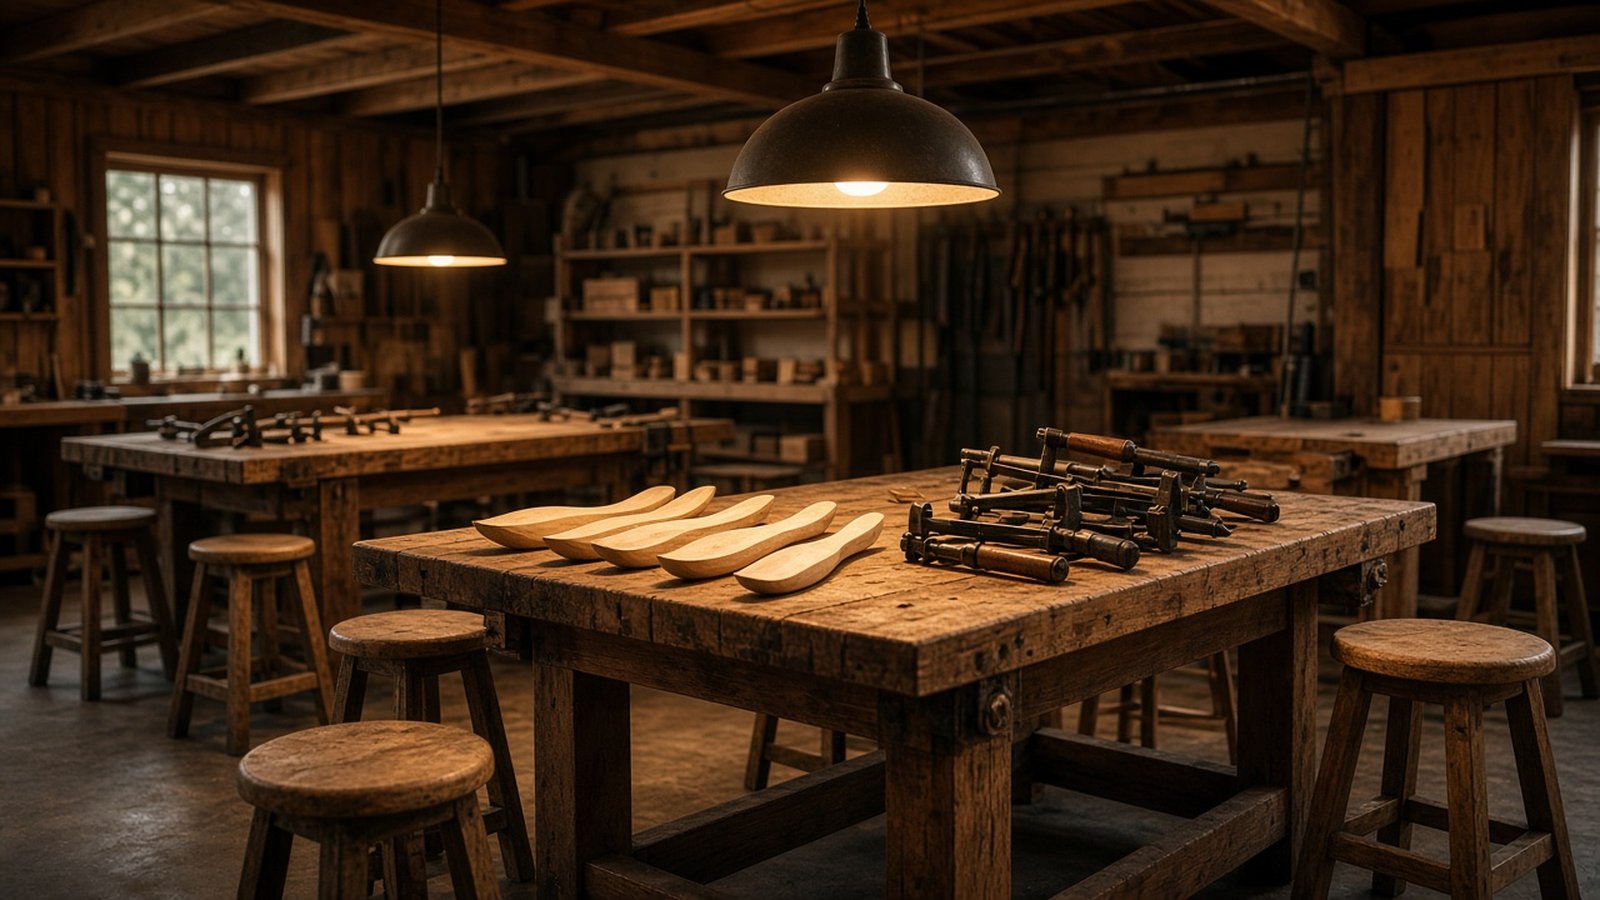
A supervised first evening beats learning grip from a muted video.
Ask Spoon BenchA sharpening reminder or blank tip — nothing else.